Getting started
riSim Studio user manual
This page takes you from an empty folder to a first simulation in VS Code, and then describes the project file risim-config.toml, the VUnit testbenches that riSim runs, and how to install the command-line tools.
If you already have VUnit testbenches, skip to describing your sources.
Requirements
- For the extension: VS Code 1.116 or newer.
- Linux on x64: at least glibc 2.28, such as RHEL 8, Debian 11, Ubuntu 20.04 and newer.
- Windows on x64.
Installing the extension
In VS Code, open the Extensions view, search for “riSim Studio”, and install it, or install it from the Visual Studio Marketplace. It contains the full riSim toolchain: the simulator, the VUnit and OSVVM libraries, and the command-line tools, so nothing else needs to be installed.
A first simulation
Writing a testbench
riSim runs VUnit testbenches.
A testbench is an entity whose name starts with tb_ or ends with _tb, with a generic runner_cfg : string; it uses the VUnit context, and calls test_runner_setup first and test_runner_cleanup last.
Each run("…") in its test_suite loop is a testcase.
VUnit testbenches has the details.
Open an empty folder in VS Code, and save this testbench as my_example/tb_example.vhd:
library vunit_lib;
context vunit_lib.vunit_context;

library ieee;
use ieee.std_logic_1164.all;

entity tb_example is
  generic (runner_cfg : string);
  signal clk : std_logic := '0';
end entity;

architecture tb of tb_example is
  signal counter: natural := 0;
  signal tick: std_logic := '0';
begin
  clk <= not clk after 5 ns;

  process (clk)
  begin
    if rising_edge(clk) then
      if counter < 10 then
        counter <= counter + 1;
        tick <= '0';
      else
        counter <= 0;
        tick <= '1';
      end if;
    end if;
  end process;

  process
  begin
    test_runner_setup(runner, runner_cfg);

    while test_suite loop

      if run("test_pass") then
        wait for 50 ns;
        assert tick = '0' report "This will pass";

      elsif run("test_fail") then
        wait until counter = 10;
        wait until counter = 0;
        wait until rising_edge(clk);
        assert tick = '0' report "This fails";

      end if;
    end loop;

    test_runner_cleanup(runner);
  end process;

end architecture;
Don’t worry about the errors that are getting reported, they’ll disappear once you add the configuration file in the next section.
Describing your sources
Add a file risim-config.toml at the root of the folder, which maps source files to VHDL libraries:
[libraries.my_design]
files = ["my_example/tb_*.vhd"]
This compiles the matching files of my_example into the library my_design, and riSim looks for testbenches within them.
VUnit, OSVVM, and the IEEE libraries are added automatically.
risim-config.toml describes the file.
riSim writes its compiled libraries and the output of the simulations into risim-out/ next to risim-config.toml; leave that directory out of version control (the output directory).
Running the testcases
Open the riSim view in the activity bar.
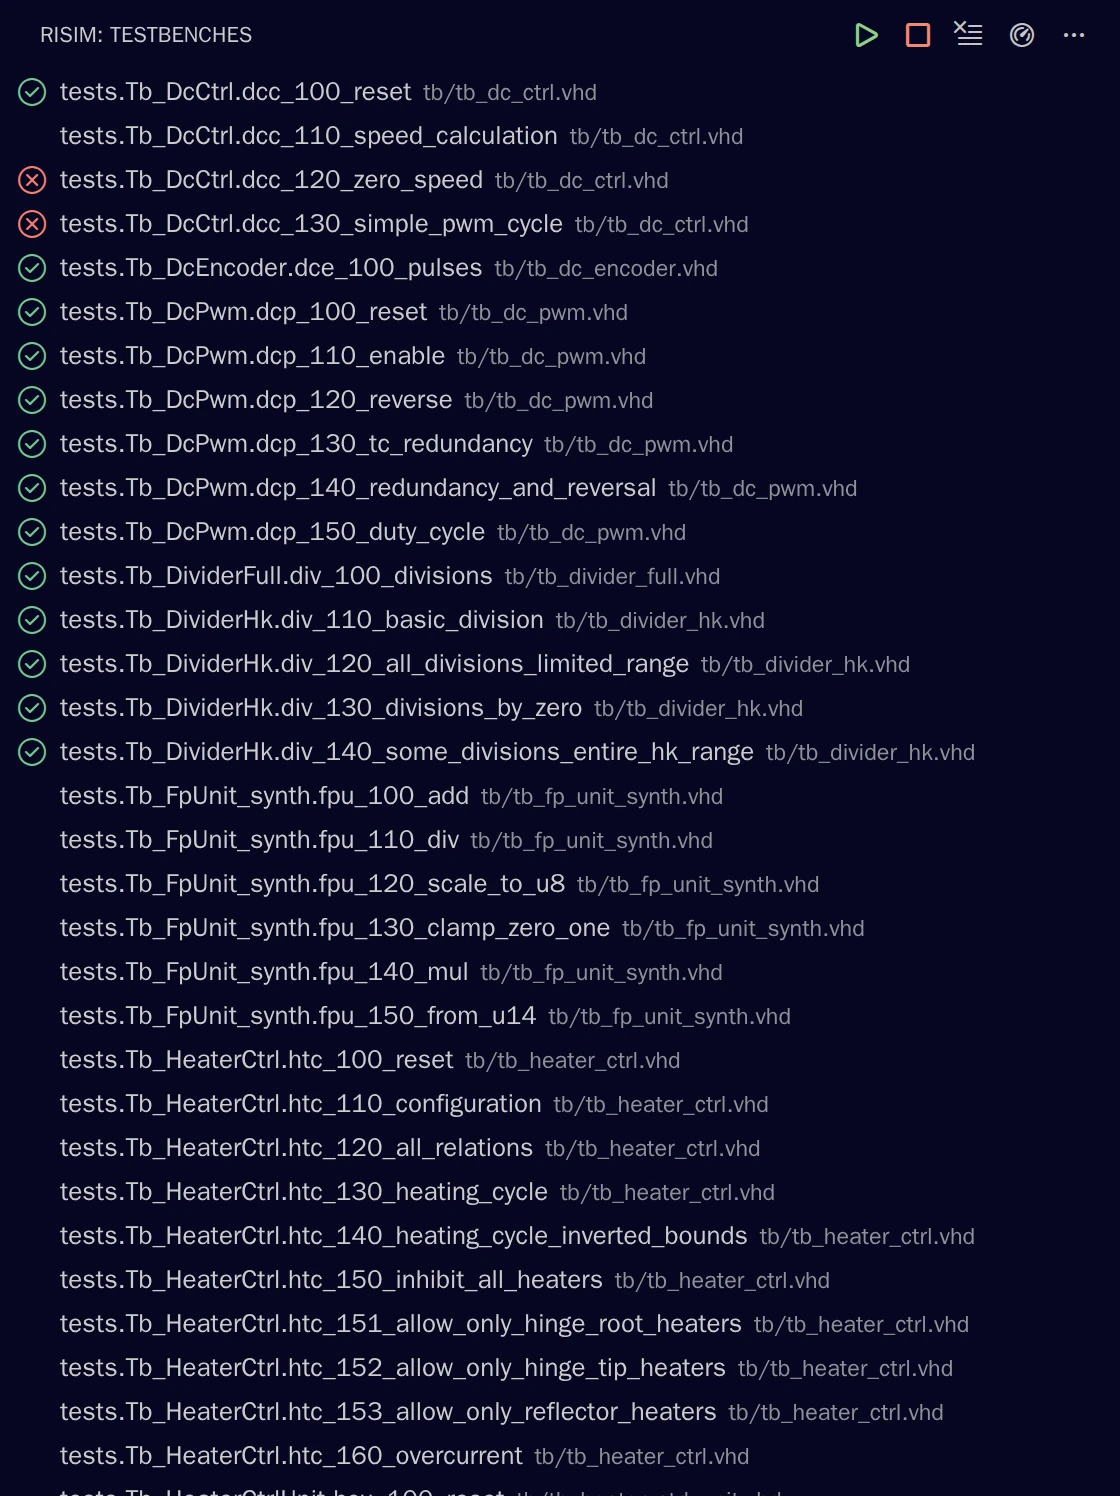
Its Testbenches sidebar lists the testcases, here my_design.tb_example.test_pass and my_design.tb_example.test_fail.
Hover over a testcase and click its run button to compile what it needs and simulate it. After the simulation is done, the icon in front of the testcase then shows its result, passed or failed. Click to show the output from the run. , in the sidebar’s title bar, runs all testcases.
Viewing waveforms
Hover over test_pass and click .
The simulation starts in paused mode, and a waveform view opens.
In the view’s hierarchy pane on the left, select the testbench’s scope, then drag the signal tick from the list below it to the waveform view, or click ; resume the simulation with in the view’s toolbar and observe the signal’s waveform being drawn.
The waveforms page describes the view.
risim-config.toml
A project is a directory with a file risim-config.toml, which names the VHDL libraries and their source files.
riSim builds the project from it; there is no run.py.
In VS Code, each workspace folder with a risim-config.toml at its root is a project, so a multi-root workspace can have several.
An example
# Options of the analysis and the simulations.
options = ["-frelaxed"]

# One table per library, with the source files as patterns, relative to the project's directory.
[libraries.my_design]
files = ["src/**/*.vhd"]

[libraries.my_tests]
files = ["tb/*.vhd"]

# Optional VUnit features, on top of VUnit's core libraries, com, and OSVVM.
[vunit]
features = ["verification_components"]

# The optimizations of the simulations.
[run]
opt-level = "full"

# The riSim version of the project.
[toolchain]
version = "1.0"
Only [libraries] is needed; every other key is optional.
Libraries
Each table [libraries.<name>] is a VHDL library, and its files is a list of patterns of its source files:
- Patterns are relative to the project’s directory, or absolute.
*matches any part of a file or directory name,?one character,[…]one of the characters,{a,b}one of the alternatives, and**any number of directories, as insrc/**/*.vhd.*doesn’t match across/, and it matches hidden files too.- Files ending in
.vhd,.vhdl, or.vhoare VHDL. Verilog files and files with other extensions are skipped, with a warning. - The project’s
risim-out/, those of nested projects, and.git/directories are never searched. - A pattern that matches no file gives a warning.
- riSim reads the files in Latin-1 encoding.
Library names are case-insensitive, and work isn’t allowed, since VHDL uses it for the current library.
The order of the libraries and files doesn’t matter: riSim compiles each file after those it depends on.
Libraries that don’t depend on each other compile in parallel.
VUnit’s libraries are added automatically: vunit_lib, with VUnit’s core and com, and osvvm.
The files of a library that you name vunit_lib are added to VUnit’s library.
A library that you name osvvm replaces the built-in OSVVM library, with a warning.
VUnit features
[vunit] features adds optional parts of VUnit:
random: VUnit’s random package,vunit_lib.random_pkg;verification_components: VUnit’s verification component library.
Options
options is a list of options for analysis and simulation:
-frelaxed, or--relaxed: reports violations of some rules of VHDL as warnings instead of errors, such as a shared variable of a non-protected type, or an unconnected port of modeinis a warning too.
Any other option is an error.
Optimizations
[run] sets the optimizations applied to simulations:
opt-levelsets the general preset:"off","on", or"full"(also0,1, and2). By default, simulations started in paused mode use"on", and all others"full".[run.opt]turns single optimizations"on"or"off"over the preset:mir,collapse-signals,wake-guards, andspecialize-processes.
[run]
opt-level = "on"

[run.opt]
wake-guards = "off"
riSim version
[toolchain] version pins the riSim version of the project, such as "1.0" for the newest installed 1.0.x; pinning a project describes this in detail.
The output directory
riSim writes everything it generates into risim-out/ in the project’s directory: the extracted VUnit and OSVVM sources, the compiled libraries, the output of each testcase, and the last results.
Leave it out of version control, for example with a line risim-out/ in .gitignore.
VUnit testbenches
riSim runs VUnit testbenches as they are, with VUnit’s own VHDL libraries, but without VUnit’s Python part: it finds them in the source files of risim-config.toml instead of a run.py.
No Python or VUnit installation is needed.
A testbench is an entity with a generic runner_cfg : string.
Its name should start with tb_ or end with _tb; riSim warns about an entity that has the generic but not such a name, and about one that has such a name but not the generic, which then isn’t run.
A testbench has exactly one architecture.
Its testcases are the run("…") calls in the file of that architecture, normally in its test_suite loop between test_runner_setup and test_runner_cleanup, as the VUnit user guide describes.
Testcase names
A testcase is named <library>.<testbench>.<testcase>, such as my_tests.tb_uart.test_reset, with the testbench’s name as its entity declaration spells it.
A testbench without run("…") calls is one testcase, <library>.<testbench>.all.
On the command line, patterns select testcases by their names: * matches any text, ? one character, and […] one of the characters, ignoring case.
For example, my_tests.tb_uart.* matches all testcases of tb_uart.
Attributes
riSim reads VUnit’s attributes in comments, -- vunit: <name>:
-- vunit: fail_on_warning, before the firstrun("…")(in a testbench withoutrun("…")calls, beforetest_runner_setup), makes assertions and reports of severitywarningfail the testcases of the testbench. Without it, those of severityerrorandfailuredo.-- vunit: run_all_in_same_simis accepted, and ignored: every testcase runs in a simulation of its own.- User attributes, such as
-- vunit: .slow, are accepted after arun("…").
Running testcases
Each testcase runs in a simulation of its own, on one simulation thread, with the project’s directory as its working directory. Several testcases run at the same time, as far as the simulation threads allow.
A testcase ends as:
- passed, when it reached
test_runner_cleanupwithout errors; - failed, when an assertion, a report, or a VUnit check failed it, when the simulation stopped with an error, or when it didn’t start, for example because its files didn’t compile;
- cancelled, when you cancelled it while it ran.
A testcase cancelled before it started keeps its previous result.
riSim keeps the last result of every testcase, and the output of its simulation, in the project’s risim-out/.
What isn’t supported
run.py: riSim builds the project fromrisim-config.toml; VUnit’s Python hooks — such aspre_configandpost_check— aren’t available.- Test configurations and generics set from Python, such as
add_config. - Running several testcases in one simulation (
run_all_in_same_sim). - JUnit or xUnit reports, test history, and VUnit’s elaborate-only mode.
- Verilog and SystemVerilog sources.
Installing the command-line tools
The extension contains the command-line tools; you put them on your PATH from VS Code, or install riSim with an installer script without VS Code.
From VS Code
Run riSim: Install Command-Line Tools from the command palette.
It installs risim, which runs the newest installed version of riSim unless a project pins another one (riSim versions and pinning):
- Linux: into
~/.local/bin, or$XDG_BIN_HOMEif that is set. YourPATHisn’t changed; if the directory isn’t on it, the output says how to add it. - Windows: into
%LOCALAPPDATA%\riSim\bin, which is added to your userPath. Terminals that are already open don’t see the change; open a new one.
The extension shows the output in its log (riSim: Show Log).
With the installer
The riSim toolchain, without the VS Code extension, can be installed from a terminal.
On Linux, with curl:
curl -fsSL https://dl.risim-studio.com/install.sh | shOn Windows, in PowerShell:
irm https://dl.risim-studio.com/install.ps1 | iexThe installer installs riSim for your user and risim as above.
It uses the newest version of riSim that is installed already, such as the extension’s, and downloads the newest release otherwise.
On Windows, the installer of a release archive (offline) leaves the Path as it is with .\install.ps1 --no-modify-path.
Offline
For a machine without internet access, download the archive of a release for Linux or Windows from the download page on another machine.
Unpack it on the target machine, and run its install.sh or install.ps1, which installs that version without a network.
Further versions are added from their archives with risim toolchain install --from <archive>.
Where riSim keeps its files
riSim keeps the installed versions, its logs, and the license activation of the machine for each user:
| Linux | Windows | Contents |
|---|---|---|
~/.local/share/risim/ |
%LOCALAPPDATA%\riSim\ |
The installed versions of riSim, and the license activation |
~/.local/state/risim/ |
%LOCALAPPDATA%\riSim\ |
The logs, in logs/ |
~/.cache/risim/ |
%LOCALAPPDATA%\riSim\ |
Downloads, and the VUnit sources of the language server |
On Linux, XDG_DATA_HOME, XDG_STATE_HOME, and XDG_CACHE_HOME are taken into account and can override these defaults.
The environment variable RISIM_HOME puts all of them into a specific directory.
Each project has its own risim-out/ directory, next to its risim-config.toml, with its compiled libraries and the output of its simulations.
Deleting it while nothing runs is safe: riSim compiles the sources files again, but previous results are lost.
Uninstalling
The command-line tools
risim self uninstallThis removes risim, and on Windows its Path entry.
Unless the VS Code extension used riSim in the last 30 days, it also deactivates the machine’s license, if one is activated, and removes riSim’s files from the directories above.
risim self uninstall --all removes them also while the extension uses them.
The VS Code extension
Uninstall “riSim Studio” in the Extensions view of VS Code. The versions of riSim that it installed stay in riSim’s directories:
- With the command-line tools installed,
risim toolchain gcremoves them once the extension hasn’t used them for 30 days, unless something else keeps them (cleaning up). - To remove them at once, run
risim self uninstall --all, or delete the directories above.
Uninstalling the extension doesn’t deactivate the machine’s license; run risim license deactivate first if you want to free its seat (moving a seat).
Next steps
- VS Code extension: the sidebar, waveform views, dashboard, and the available commands.
- Command-line tools: running testcases from a terminal and in CI.
- Plans and licenses: riSim’s plans and licenses.